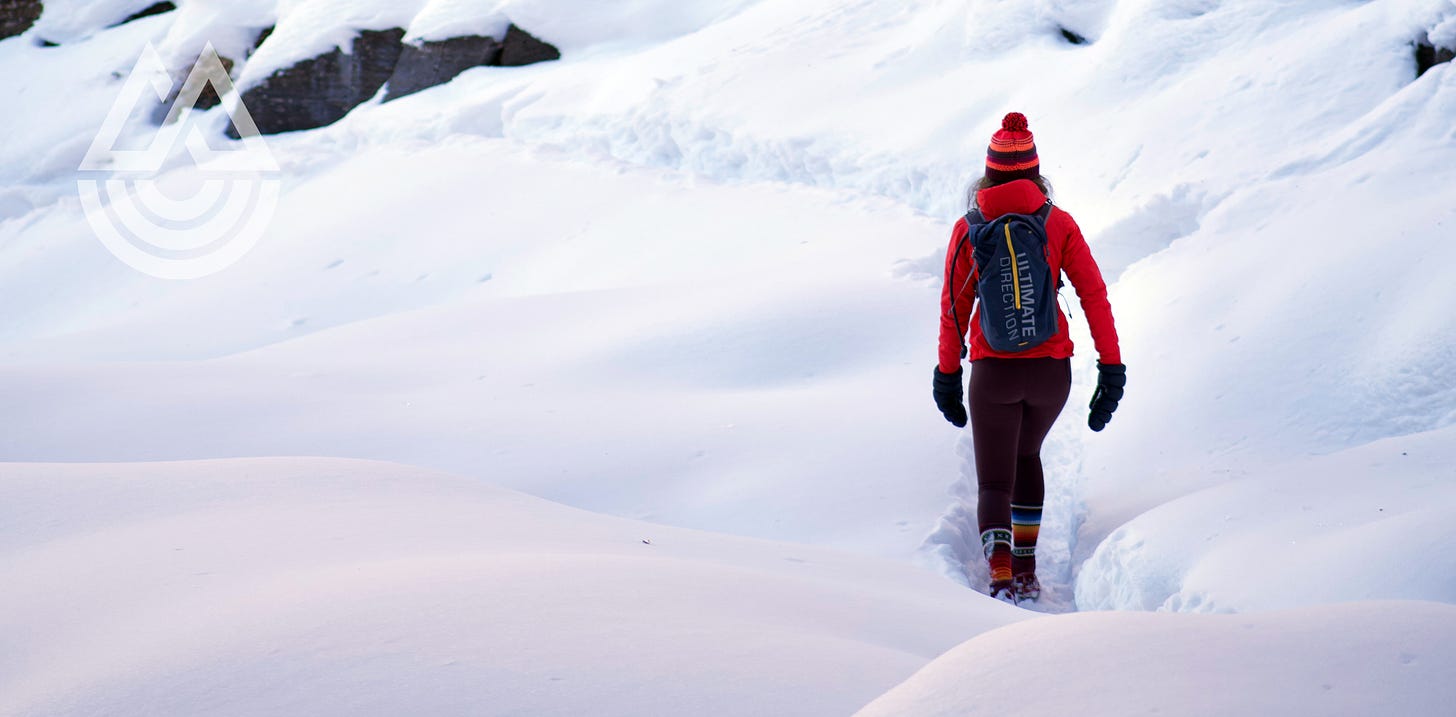
I used to dread winter. The cold, dark days; the lack of sun; and so much time inside. I’d go stir-crazy first, then Seasonal Affective Disorder would bum me out until the first signs of Spring. After moving to Utah 11 years ago, I committed to “Project Love Winter,” forcing myself to figure out how to embrace the season. Turns out all I needed was some good winter gear and time in nature.
Now I LOVE winter. The snow makes all my summer hiking trails feel sparkling and magical, my gear gets me comfortably outside on sunny or snowy days, and the project helps me stay active during what used to be a period of Netflix and naps. However, it took me a while to figure out what to buy and how to layer so I wasn’t cold, wet, or bulked up like the Stay Puft Marshmallow Man.
I’m republishing this guide because after what we’ve all been through in the last two years… we need to get outside. Consumer prices are rising, many are still struggling financially and energetically in this pandemic, yet experts say we’re going to spend 7-9% more this holiday season than last year. Maybe it’s time to join me and REI in a new holiday tradition—going no gifts (or at least dramatically paring down gift-giving) and using your Black Friday to opt outside for a solo, friend, or family adventure.
If that sounds like a literal breath of fresh air, let’s figure out how to get you out there comfortably… but first, a word. I’ve invested in my winter gear because I’m hiking, snowshoeing, or cross-country skiing every single weekend, in all kinds of conditions and temperatures ranging from -10°F to a balmy 40°F. But you don’t need to break the bank to explore your local trails, parks, or nature preserves in winter. Scour the online sales, pick up last season’s colors or model at a discount, try it on at your local store then find it used from Poshmark, borrow what you only occasionally need, and add to your collection gradually as your budget allows.
HEAD
Buy a hat for performance and warmth. Turtle fur by the ears is nice, but can be too hot in above-freezing temps. This part isn’t hard; you just need a hat or two. Always pack a hat. Your mom was right in that you lose a lot of heat from your head, and the summit or lake may be far windier and colder than the base.
TRUNK
Common advice is base layer + mid layer + shell. This works fine if it’s not too cold (for me, 25°F or warmer), but during 0° temps hiking in Banff, I needed a fourth layer to keep me warm.
Base layer: A wool, silk, and/or polyester layer that wicks sweat and keeps you insulated. (You do not want cotton here.) Know your numbers—layers are usually identified by their number of grams. Light-weight is usually 150 grams, mid-weight goes up to 250 grams. For winter hiking, I use a mid-weight from Smartwool or Meriwool ($60-$100). These can be expensive, so search for clearance (last year’s colors) or sales. It doesn’t matter what it looks like because it’s always on the bottom, so just make sure it’s long enough in the sleeve/torso, but still slim-fitting.
(Optional) pre-mid layer: On very cold hiking days (below 20°F), I add a 100% wool sweater from Fjallraven over my base. (I’ve even done fleece sweatshirts or a cotton blend sweater, as your base layer does the wicking—this part isn’t fancy, it’s just extra warmth.) The extra layer helped keep me warm, but this will be overkill if it’s not below freezing or if you’re moving fast (like cross-country skiing).
Mid-layer: This is usually a fleece or a light and thin “puffy” jacket. It’s there for warmth, but also traps body heat and keeps you insulated. It may block a little wind, but it’s not designed to be exposed to rain or snow for long periods of time. Half the time, I just need this mid-layer on the trail. For rain, snow, fierce cold, or heavy wind, see below. I wear Arc’teryx Atom LT hoodies here ($259). They’re the best all-around jacket I’ve ever owned, and I’ll keep them forever. (I have some Arc’teryx gear that is ten years old and still in like-new condition. It holds up.)
Shell: This is your topper, to protect you from wind, rain, and/or snow. They’re thin, packable jackets that range from water resistant to waterproof. Waterproof is great in snow and bitter cold, but it’s also typically less breathable, which means you’ll get sweaty fast if you’re working really hard. (Note, a shell is different from a soft shell. Soft shells are like a 2-in-1, with a light insulation layer inside and a water resistant shell outside. I prefer having more options based on my activity and climate, so I keep these two layers separate so I can mix and match.) My shell is also Arc’teryx, the Beta LT ($500). It’s waterproof but breathable, and features a long, slim fit perfect for my frame. I’ve also worn a much less expensive North Face shell, which worked nicely too.
(Optional) neck warmer: You can buy turtle fur or fleece circular neck warmers if it’s extra cold and your base or mid-layer don’t go up high enough. (They’re less bulky than a scarf, but that works too.) I don’t often use them, but they’re cheap and easy to pack just in case.
HANDS
My hands are the only thing that ever get cold, so you might want to spend here.
Mitts and gloves: Most gloves now have cold ratings on the tag, so look for that when you’re shopping. Unless you’re cross-country skiing where you need your hands to be more dexterous, I actually prefer mittens, or even a glove-liner-under-mitten combo. My mitts are a Canadian brand called Auclair (available in the U.S.), but you can find warm mitts at any sporting goods store.
Hand-warmers:These little miracles can make the difference between a pleasant afternoon and turning around early. They’re tiny, cheap, and pick up where the gloves you thought were thick enough leave off. Stash a few in your pack; for about $4 they saved my hands during longer hikes in Banff. This is where wearing mitts (not gloves) come in handy; the heat packs will stay warm for hours and you can fidget them around to various parts of your hands to keep them toasty.
BOTTOMS
Again, you can go base layer + mid layer + shell on the bottom, but I rarely need all three.
Base layer: These are usually wool-blend or polyester-blend tights, very close-fitting, designed for warmth. I have a pair from Smartwool and another old pair from Cotopaxi that are actually men’s, but fit me just fine. Note, some brands like Athleta offer an all-in-one base + mid-layer, with fleece-lined tights. These would be a great all-in-one option if you were heading out in moderate cold without snow in the forecast.
Mid layer: I wear normal yoga tights over my base layer, and unless it’s raining or snowing, that’s all I wear (and my legs have always been pretty warm). The key to donning two pairs of tights at once: put your tall socks on OVER your base layer, so you can pull the second pair on without them riding up. I wear thicker tights here—it’s likely a “naked” fit like a lululemon Align won’t add enough warmth—but you can wear literally anything that isn’t 100% cotton or jeans
Shell: If it’s snowing or raining, I throw a pair of shell pants over the whole she-bang. They’re bulkier and less comfortable, so I usually skip them unless there’s weather or I’m doing something intense like tubing with my kid or that one time I went ice climbing. (Mine are from Marmot, $139.)
FEET
Keeping your feet warm is paramount to getting and staying outside in the winter. This is a combo of boots and socks.
Boots: You could go a few different ways here. Hiking boots work just fine in the winter with either microspikes or snowshoes. (I have a few pairs of Back to Berkeley from The North Face, $160.) They’re not as warm, but with the right socks, I’ve never had cold feet. You could also do a pair of really warm winter boots, like Sorel (most of which are rated to very cold temps). I have Sorel’s Whitney Short Lace ($120) and they’re light, waterproof, and work great with snowshoes—I wore these through most of the coldest days in Banff.
Socks: These are your money-maker, because cold feet suck even more than cold hands. I look for wool “ski” or “snowboard” socks here, either to the lower shin or up towards my knee. (Pro tip: try your hiking/winter boots on with a pair of thicker socks.) I’ve got pairs from Stance, Burton, Smartwool, and other brands ($20-$25). I actually look for “light” or “ultra-light” in the description; you actually don’t want super-heavy socks for normal winter conditions. I paired light wool socks with my North Face boots in zero-degree temps and been toasty warm.
(Optional) gaiters: If there isn’t weather but you’re in deep snow, a pair of knee-high gaiters will keep the snow out of your boots (and are less bulky than shell pants). I use REI brand ($55), but they all work about the same. I’d just get the taller ones (above the ankle).
Stay tuned for Part 2!
So there you have it… layering for winter activities, in a nutshell. There’s more to discuss (nanospikes versus microspikes versus snowshoes, oh my!) so click on over to Winter Hiking Part 2 next.
I hope this newsletter has you and your family outside and enjoying nature all winter long! Be sure to follow me on Instagram (@melissau) and tag me in your #snowchurch photos.
XO MU