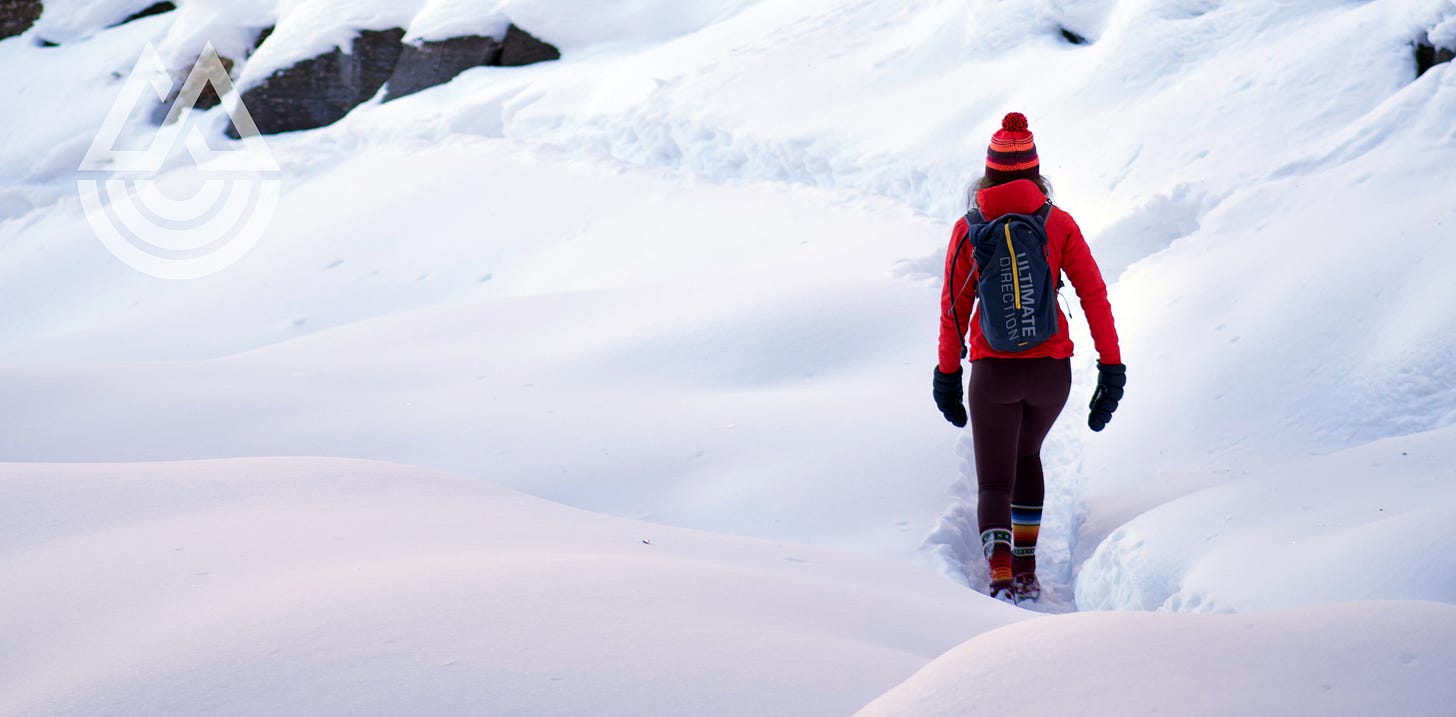
You: “Should I bring spikes for that trail?” Me: “It’d be a lot cooler if you did.”
It’s Snow Church season! Last week in Part 1, I shared all the clothes I wear head to toe in various winter temps to making hiking, cross-country skiing, and snowshoeing comfortable and safe all winter long. Today, I’m going to share my favorite winter equipment—spikes, snowshoes, and poles—to help you hit icy, snowy, powder-ful trails without slipping, sliding, or falling on your peach.
For winter pavement, packed snow, or icy conditions
Nanospikes are plastic grips that wrap around the sole of your shoe or boot, featuring small metal spikes to help you grip the terrain. Think of them like cleats, helping you transition between dry and wet or icy surfaces like pavement. These are great for walking the dog on paved trails, but don’t provide enough traction for running or hiking trails.
The brand I wear are Kahtoola—you can find them on Amazon or REI for about $40. There’s a sizing guide that corresponds to your shoe size—these are rubbery and will stretch over your heel and toe to provide a snug fit.
Expospikes are an in-between category made by some brands (like Kahtoola, $60, or Yak Trax walking cleats, $20). They’re a step above nanospikes, meant for more dirty/rocky terrain and with a bit more traction for hiking, winter running, or dogs that pull. These may provide added support for dog walks and short hikes with the kids, but if you’re heading UP in winter, I’d skip this level and go straight to microspikes.
Even in mixed conditions, microspikes will come in handy. In early winter or spring, you might find some trail sections muddy/icy, while others still have quite a bit of snow. I leave my spikes on across almost all conditions for these seasons, because they help me dig into mud and ice just as effectively. (The only area where they don’t help is climbing over bare rock.)
Note; some brands like these Polar Cruisers use “microspikes” and “crampons” interchangeably. (These are for sure microspikes.) True crampons have much more aggressive, sharp spikes (usually 1” in length), and usually have two long cleats right off the front of the toe, for kicking into ice. They’re used for ice climbing or winter mountaineering, but crampons are overkill for day hikes. (I don’t own a pair.)
For deep snow
Snowshoes are necessary for deeper snow, where you’d posthole (sink down beneath the surface) in just your boots. Since they have great traction, you can wear them in packed powder conditions too, although they may feel cumbersome. I often start hikes in microspikes (the start of a trail is always more packed down) and transition into my packed snowshoes once I start postholing. (Note, you slip off your spikes first, then strap on the snowshoes.)
I have MSR Lightning Ascent showshoes. They’re light and maneuverable, and they’re narrower for my narrow gait. They help me move fast on the trail and up hills, but they wouldn’t be quite as good in super deep, super steep and icy conditions, or in tons of loose powder (because the footbed is more narrow). These would be considered a “rolling terrain” snowshoe, and they work for the conditions where I normally hike, where trails are already somewhat blazed.
REI has an awesome guide to choosing the right snowshoe for you. In fact, REI stores rent snowshoes and poles for the day! This was how we started, until I knew I liked it enough to buy my own pair. If you only plan on heading out a few times a year, renting might be the way to go. If you’re into it, my friend Kristen at Bearfoot Theory has a great getting started with snowshoeing article.
In your hands
Poles are money in any winter condition. They provided extra “legs” for stability and balance, let you preview snow depth, can help you lean into a big hill when climbing, and can be planted on the descent to slow you down and keep you upright. If you’re using poles in the winter, you’ll want to buy special snow baskets to place at the tips (or buy a set of poles that come with baskets). This keeps the tips from sinking down two feet into drifts, which would not be helpful.
I use a few different collapsible poles, because these pack down nicely if I don’t want to use them through the entire hike. I won’t link to them because they’re older models, but I have a pair of Black Diamond and Leki (both around $150-200). Collapsible poles are more expensive, but you don’t have to spend a ton here. Amazon has some highly rated brands for just $40.
Go forth and love winter!
I hope these tips keep you outside when the days get colder, enjoying all of the beauty that mother nature has to offer. I find hiking the same trails I’ve hit in summer to be equally gratifying in winter, as the snow adds another layer and makes even familiar trails sparkle like new. Add some good sunshine to your eyeballs, a little quiet time for your brain, and fresh air in your lungs and I think you’ll find winter hiking is one of the best ways to evade the seasonal slump.
XO MU